Hard to believe it, but we’ve been doing a weekly live broadcast every Thursday night for four months now. If you’ve been missing out and can make it work with your time zone, make sure you follow me on Facebook and Instagram so you don’t miss out on tomorrow’s live broadcast! I need your help though – in the form of more questions! Leave a comment below with anything you might want to know about photography, my career, or something completely random – have fun with it!
We’ve also added Earth Is Our Witnessto the mix, which is a fantastic way to get to know some of the world’s greatest photographers some of which you’ve likely heard of, and others you should know! The premise of EIOW is to emphasize the ways that we are, by and large, similar around the world, with the same goals, dreams, and wishes for our friends, our families, and ourselves.
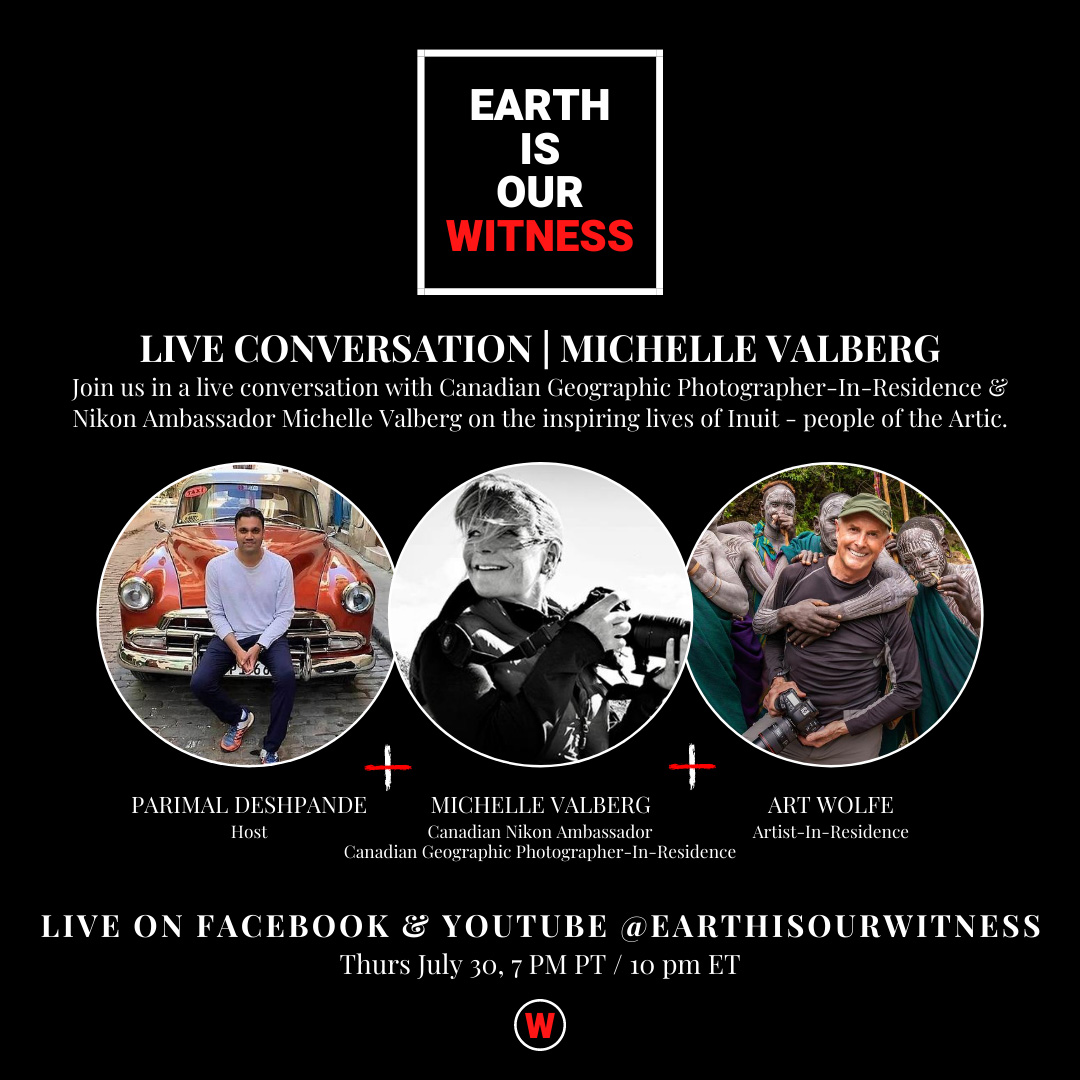
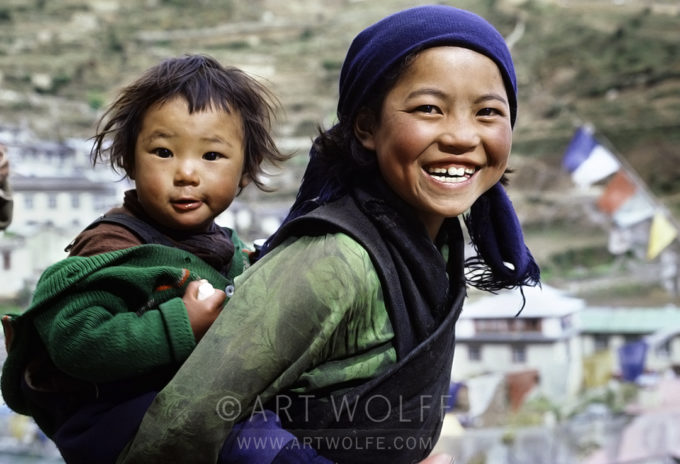
This week on EIOW, we will be talking with Canadian Geographic photographer-in-residence & Nikon Ambassador Michelle Valberg on her work in the Arctic and the inspiring stories behind the lives of the Inuit people who reside there.
Tequila Time kicks off at 5:30 PM PST every Thursday on Facebook Live & Instagram.
Earth is Our Witness begins at 7 PM PST on Thursday on Facebook Live & Youtube.
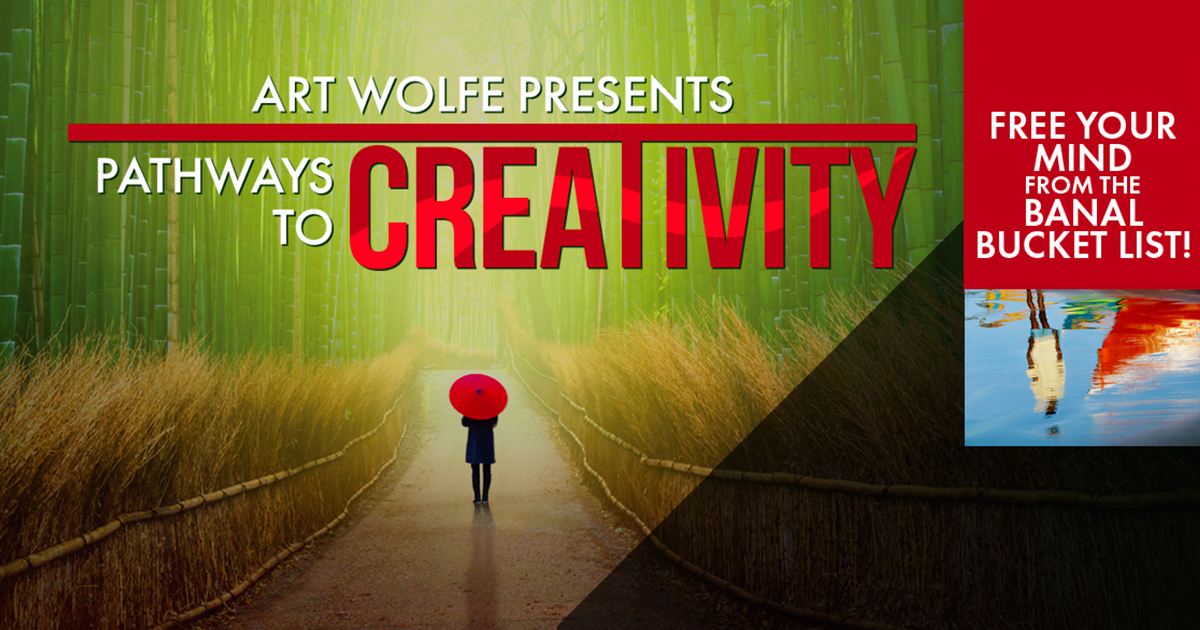
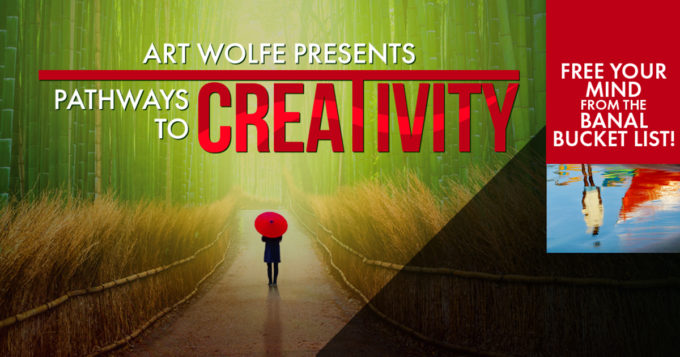
Learning to master depth of field is no small task and it’s a skill I’ve honed over decades of shooting all manner of subjects. Knowing when to capture the entirety of your scene in sharp focus, or when to selectively and intentionally bring focus to one area of the shot to capture the viewers eye is an important decision to make once you’ve determined your subject. For those of you who have purchased Pathways to Creativity, a new episode is available on the subject – join me for a deep dive!
First and foremost, there’s a fresh new episode of Pathways to Creativity uploaded, so if you’ve purchased the season, check it out! This one is all about shutter speeds. Freezing miniscule droplets of water in sharp focus while a tiny bird drinks from a puddle gives us a glimpse into a world we never see with the naked eye, while the blurred motion and lines of a group of zebras through tall grass provides more context than a focused image is capable of conveying. It’s all there!
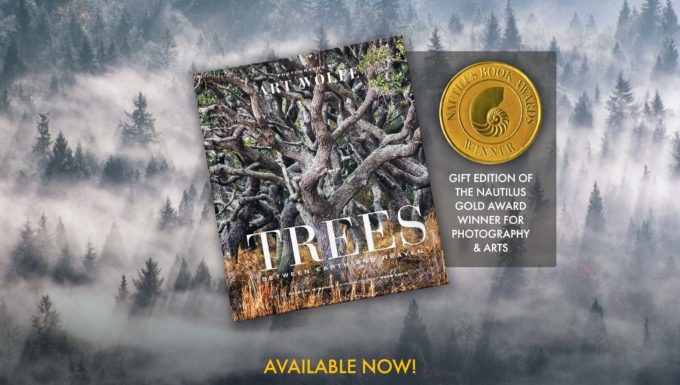
There is also a gorgeous gift edition of Trees: Between Earth & Heaven available, published as of today! As you saw on a recent episode of Tequila Time, the first edition of Trees is one of my Top 10 personal favorites, and this new gift edition retains the quality of that release in a more compact format.
Last but most definitely not least, if you haven’t already give Earth Is Our Witness a follow on both Facebook and Instagram and be sure to join us live on Thursday evenings following soon after Tequila Time. This week Parimal and myself will be talking with ocean photographer & the prestigious HIPA grand-prize winner Jasmine Carey on the secret lives of whales. I can’t wait! Thank you SO MUCH for everyone who joins our live broadcasts, and those who go back and watch them later. The positive feedback has been tremendous. See you then!
This week’s episode is titled, “The Big Picture”. It’s all about large landscapes, large formats, and large ideas. I discuss how I ensure that the elements of design we’ve discussed until now don’t get lost in the vastness of an open landscape, or wide panoramic shot.
Enjoy – we are at the half way point of Season 1! Hopefully everyone who has purchased Pathways thus far has found the first 6 hours useful. Don’t forget to leave a comment below, on my on demand page, or contact my staff if you have any feedback on your experience with Pathways, and how to make Season 2 even better!
It’s been a busy month and perusing the series of images I have created in the last fifteen years, that seems to be the case for many a June! No surprise is a wonderful month for photography. From Alaskan Arctic to the Australian Outback, take a visual journey around the globe in June!
If you’ve subscribed to become a view of the first season of Pathways to Creativity, good news – Episode 5 is up today! Though much of my instruction is designed to train your artistic eye and hone your vision into that of an accomplished visual storyteller, this episode talks a little hardware. I discuss the lenses I use most often, which ones I might consider leaving at home on a long trip, the circumstances that influence my choices – and much more! It’s a longer episode, but packed with decades worth of professional experience.
I’m back in Seattle today where I’ll be starting my 14-day quarantine – safety first!
It’s taken some time to look back over my career and select the best photos to illustrate the many lessons included in Pathways, and the feedback I’ve received so far from those who have subscribed has been incredibly gratifying.
If you’re on the fence about the series, here are a couple questions that have come up:
Q: Is there any kind of free trial for Pathways to Creativity, so I can get the gist of what it is all about before I buy?
A: Absolutely! Below and on the Pathways website you’ll find a free nearly 16-minute long preview that includes a few segments from the first 3 episodes.
Q: If I purchase a single episode, but decide I’d like to upgrade to the entire series, is that possible?
A: Of course! If you’ve purchased a single episode and decide you’d like to purchase the complete series, simply email us at info@artwolfe.com, or email vimeo through the help menu on the right side of my On Demand page and provide the name and email address of the original purchaser. We can provide you with a code to apply to the series for any previous episodes you have purchased, not to exceed the cost of the full series price.
Q: Season 1 implies a Season 2; is there a release date for the second season yet?
A: While there is no release date set in stone for S2 of Pathways, I already have the chapters laid out and ready to go, with a bit more finessing – rest assured S2 is all but a certainty in the very near future!
Back in 1975, I graduated from the University of Washington with Bachelor’s in Fine Arts and Art Education – and this is the foundation I’ve built my career upon, traveling the world and capturing images utilizing the tenets of my traditional art background. Teaching has always been a passion of mine, and Pathways is the cultivation of 45 years of these pursuits.
The feedback I’ve gotten for the first two episodes of Pathways has been wholly positive and I can’t thank you enough for checking it out. I love sharing what I do, and to be able to combine that with the affinity I have for teaching is the perfect way to share it.
If you’re looking to be inspired to take your photography to the next level and consciously create beautiful shots that artistically emphasize your subject to it’s fullest extent – look no further!
Pathways to Creativity has arrived! Actually, the first episode arrived last week – which was simply not the right time to post about it. However, we did have a robust pre-registration list and several anticipatory inquiries, so it’s time to get the word out!
“Art, what the heck is Pathways to Creativity?”
I’m glad you asked! I’ve poured over nearly five decades worth of images to bring together a collection that illustrates my various points of view as a life-long artist, photographer, teacher, and traveler. Through the first 12-episode season, I’ll cover topics like composition, using various qualities and sources of light, and challenging conventions. Along with thousands of visual examples, I’ll also provide context to hundreds of images with commentary about the circumstances of their capture, a bit of culture, and more.
“Neat! But what IS it? A book? A video? A workshop?”
Pathways is an online streaming lecture divided into 12 roughly 1-hour long episodes that can be streamed on demand ’til your heart’s content from my Vimeo channel onto your smart phone, laptop, tablet – you get the idea! Episodes can be purchased individually, or as a complete package for a discounted price. Complete package purchasers will also receive a bonus 13th episode! Episodes are released weekly every Tuesday, beginning June 2nd, 2020.
“Got it! So – who will get the most use out of Pathways?”
The beautiful thing about the lessons I’ve constructed is that the information here is evergreen, and it’s cliche to say – but there truly is something here for everyone! From the hard-core travel photographer to the smartphone user, from the fine-art painter to the nature enthusiast who just wants to see images of wildlife and culture and hear my stories and the thought process of my work – it’s ALL here.
“Do I need to be an expert with my camera to get the most out of Pathways? How do I know if it’s for me?”
The vast majority of what I have to say in Pathways has much more to do with training your eye to see than it does training you to use a camera. Although some episodes deal with things like shutter speeds and depth of field, these are simply tools to meet that end.
To find out what Pathways is all about, check out the free 15-minute long preview below, with excerpts from the first 3 seasons of Pathways to Creativity. Enjoy!
Welcome to an ICYMI (In Case You Missed It) Friday!
Continuing our Thursday tradition for over two months (!) now, I sat down with Parimal Deshpande and our live viewing audience on Instagram and Facebook last evening. This time, however, we left the cocktails unpoured to keep clear heads and talk about a very important issue – and that is, simply put, that we as humans – not just by and large, but overwhelmingly so, in my experiences – all have the same dreams and desires.
It isn’t hyperbole to say that I have traveled more than anyone else I know, and while this simple fact means nothing in and of itself, the very goal of my travels abroad are often to scrutinize the local cultures both to focus my lens on the moments and subjects that capture their lifestyle, but to also ensure that I’m staying within my bounds as a guest.
In case you missed the video you can check it out on my Instagram TV page. I’m including a gallery here of some of the images I discuss.
Also, on one final note – many of you have preregistered for my new streaming lecture series, Pathways to Creativity, of which I mentioned the first episode and full series subscription would be available for purchase this week. I just want you to know that yes, Pathways is up and I look forward to talking about it more in the weeks to come. However, given recent events and the news of the week I simply didn’t feel right making a big marketing push when there are so many other important things happening on social media. However, it is up and available and I am excited to share it!
Instead of going for the same ol’ landscape shot that everyone has on their “bucket list”, why not try to change your perspective and create your own original surreal landscapes? By simply changing my elevation and considering both my foreground and background, I get the results I want – you can too, and it’s as simple as changing your point of view!
Crouching, kneeling, or even lying down – if you want the shot, sometimes you’re going to get dirty to get it! That being said, sometimes finding a new perspective is as simple as taking a step or two in any direction. Finding interesting ways to ensure your foreground is equally as interesting as your background and vice versa is key.