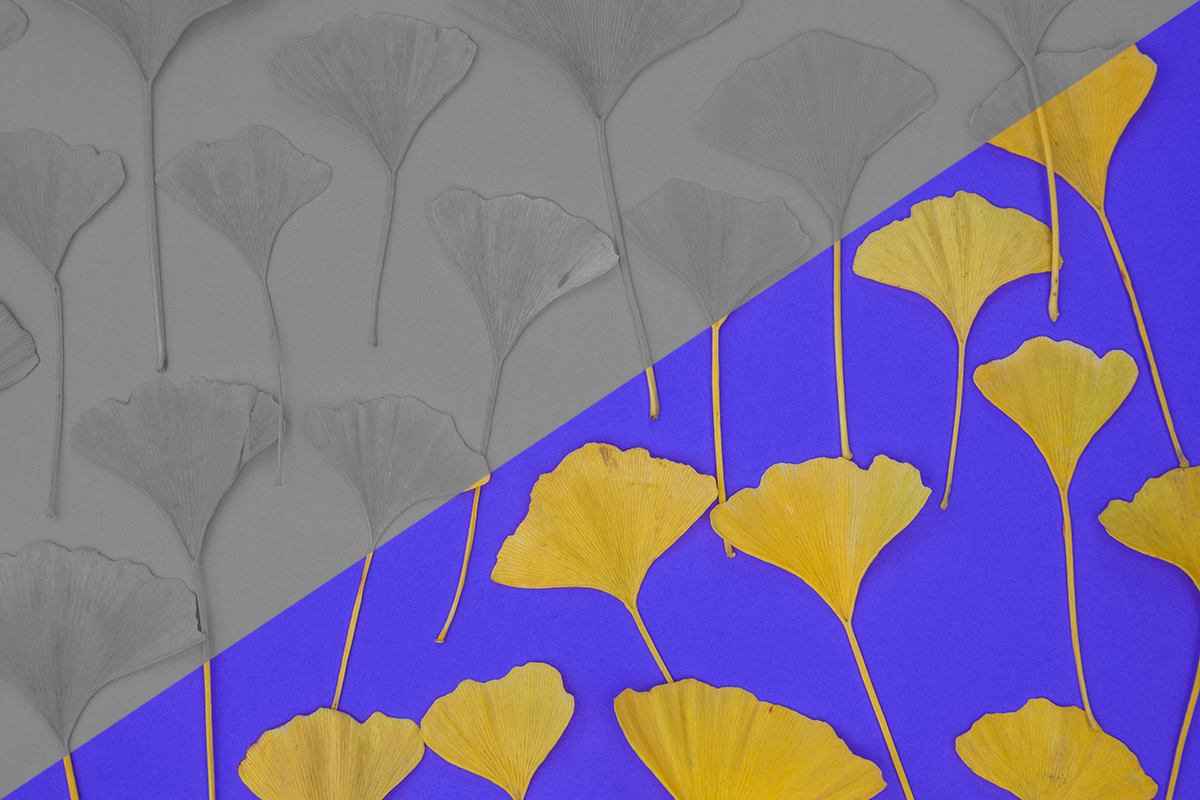
Season 1 of Pathways to Creativity is just about in the books, with a new episode dropping today! This one is all about color – and in some part, lack thereof. I find that while many photographers do focus on important factors like light and composition, color is equally as important but often goes overlooked.
When I shoot, it doesn’t matter if it’s wildlife, culture, abstract, or the landscape – I’m always looking for ways to use color creatively. I also touch briefly on infrared photography, and spend a good chunk of time talking about contrast both high and low.
If you haven’t hopped on board, now is a good time to do so – you can be caught up just in time for the final episodes of season 1 and prepared for more to come!
Busy week both here in Art Wolfe land and the world! Sports are returning in limited fashion, political fallout, and conflicts of ideology that are having harmful results (wear a mask! Please – I have many more book projects to complete!). I absolutely enjoyed chatting with Michelle Valberg last night on Earth Is Our Witness. If you enjoyed Michelle’s work, don’t forget to pop over to the Earth Is Our Witness Instagram page and give a photo you like a comment – a lucky winner will receive a free print!
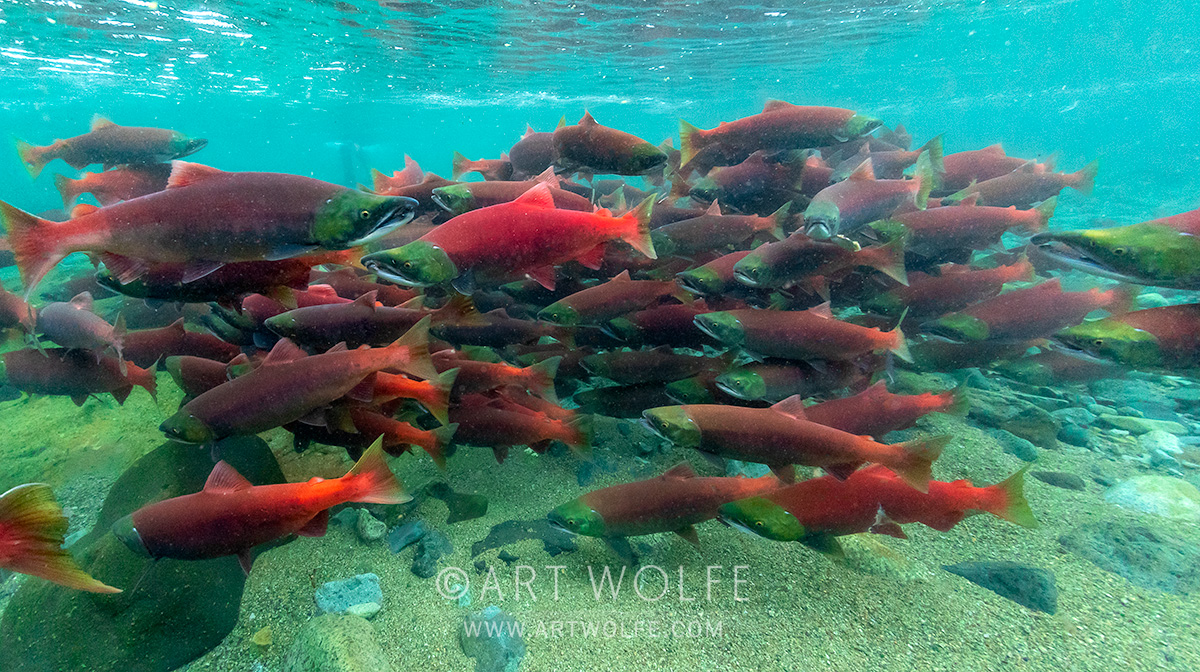
Last night on Tequila Time, I had a bit of fun with a look at some of the antics of my youth, but I also ended on a poignant note. As many of you are aware, the flora, fauna, and livelihood of local fishermen is under immense threat by the proposed Pebble Mine project in the Bristol Bay region of Alaska If the Pebble Mine goes through, the bears will lose, the fish will lose, Alaskans will lose, and Earth will lose. It’s short term gain for the few and long-term destruction for the many.
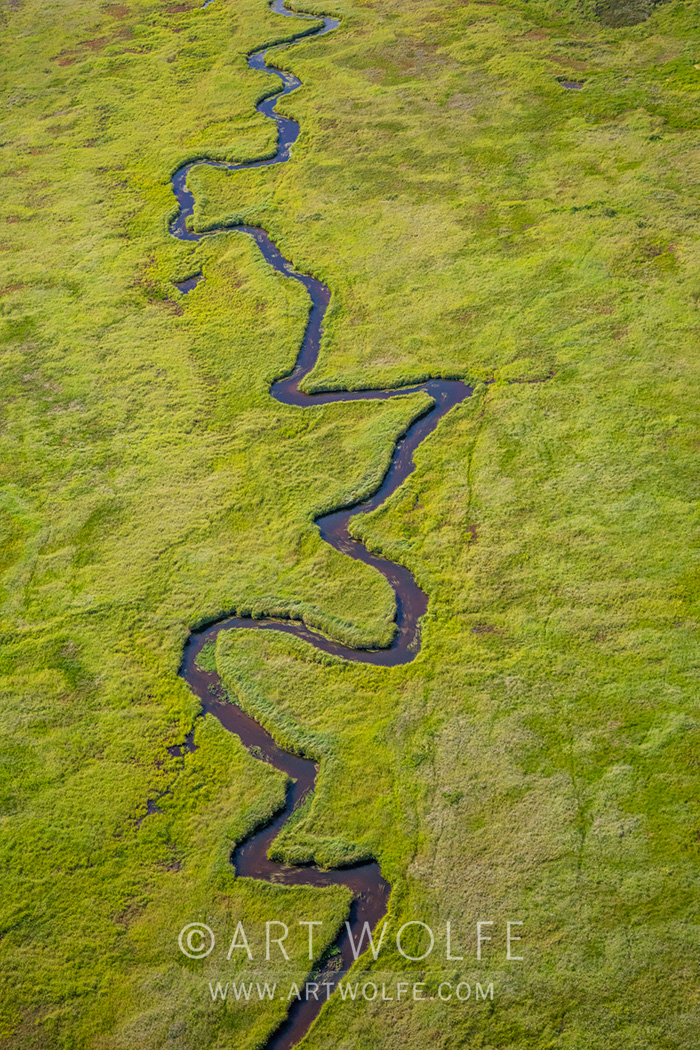
A little over a year ago now I sent out a call to action to contact your congresspersons and let them know your thoughts on this project, that only serves to propagate wealth for the few while ravaging this beautiful and globally unique environment that we and future generations will lose out on.
With the recent Army Corps of Engineer’s Environmental Impact Study being labelled as inherently flawed and wholly inadequate by respected organizations such as the NRDC and the obvious interests of the Save Bristol Bay campaign, it’s time to make voices heard. No project ever goes flawlessly. We know this as humans. I do my best to see both sides of a conflict, but when it comes to matters of the environment versus the personal gain of a few individuals whom already possess the means to undertake such an environmentally devastating project, my decision is very simple.
We will continue to fight the good fight! Have a fantastic weekend!
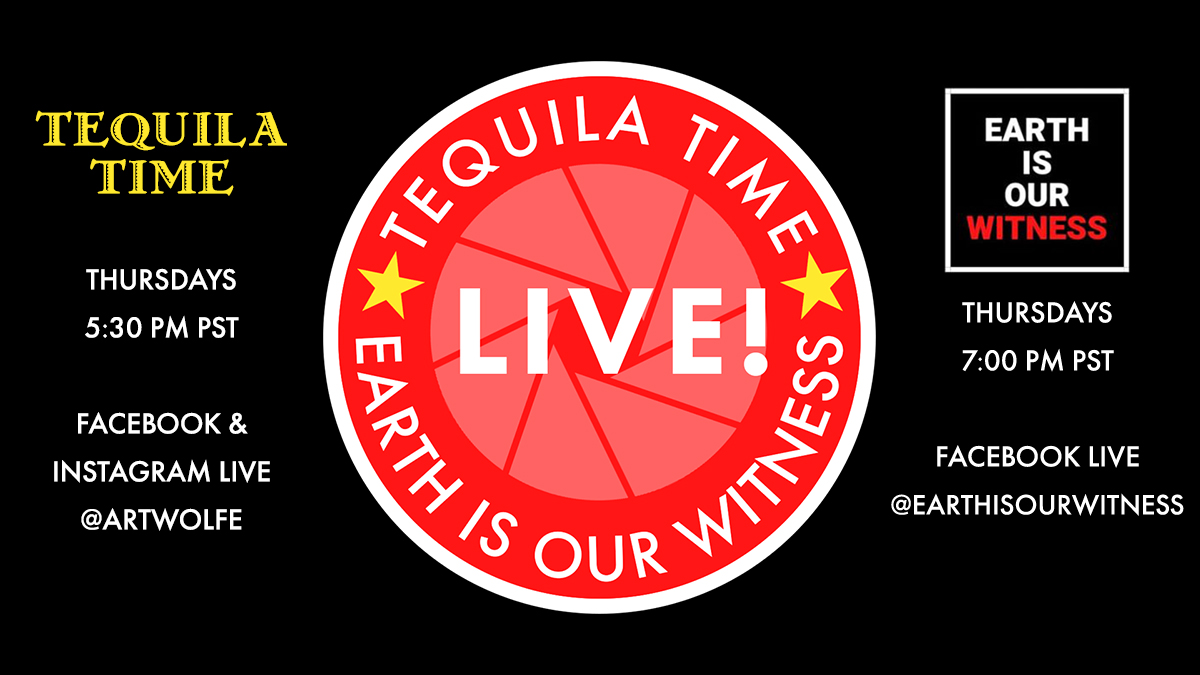
Hard to believe it, but we’ve been doing a weekly live broadcast every Thursday night for four months now. If you’ve been missing out and can make it work with your time zone, make sure you follow me on Facebook and Instagram so you don’t miss out on tomorrow’s live broadcast! I need your help though – in the form of more questions! Leave a comment below with anything you might want to know about photography, my career, or something completely random – have fun with it!
We’ve also added Earth Is Our Witnessto the mix, which is a fantastic way to get to know some of the world’s greatest photographers some of which you’ve likely heard of, and others you should know! The premise of EIOW is to emphasize the ways that we are, by and large, similar around the world, with the same goals, dreams, and wishes for our friends, our families, and ourselves.
This week on EIOW, we will be talking with Canadian Geographic photographer-in-residence & Nikon Ambassador Michelle Valberg on her work in the Arctic and the inspiring stories behind the lives of the Inuit people who reside there.
Tequila Time kicks off at 5:30 PM PST every Thursday on Facebook Live & Instagram.
Earth is Our Witness begins at 7 PM PST on Thursday on Facebook Live & Youtube.
First and foremost is the live broadcast in which Parimal and myself spoke with Jasmine Carey about her work as an ocean and underwater photographer. I won’t spoil too much – watch the video! You won’t be disappointed by this interview and her gorgeous photos. Jasmine was the Grand Prize winner of this year’s prestigious HIPA Award for their theme of “Water”. You’ll understand why!
If you missed any previous installments of Earth Is Our Witness and don’t want to miss a future episode in which we might be chatting with one of your personal favorite photographers, give Earth is Our Witness a follow on Facebook!
Check out Jasmine’s website as well. Her online store includes a gift box of miniature prints, with a large portion of the proceeds benefiting Rainforest Rescue. Add two to your cart and use the code WITNESS and get one of them for free!
Preceding our chat with Jasmine it was Tequila Time! This week I took a break from showing photos to bring my long-time friend and travel companion Gavriel Jecan on with me. He’s missing his family back in Thailand, as he’s been stuck here in the states. Time to grill the man who makes the margaritas behind the scenes!
First and foremost, there’s a fresh new episode of Pathways to Creativity uploaded, so if you’ve purchased the season, check it out! This one is all about shutter speeds. Freezing miniscule droplets of water in sharp focus while a tiny bird drinks from a puddle gives us a glimpse into a world we never see with the naked eye, while the blurred motion and lines of a group of zebras through tall grass provides more context than a focused image is capable of conveying. It’s all there!
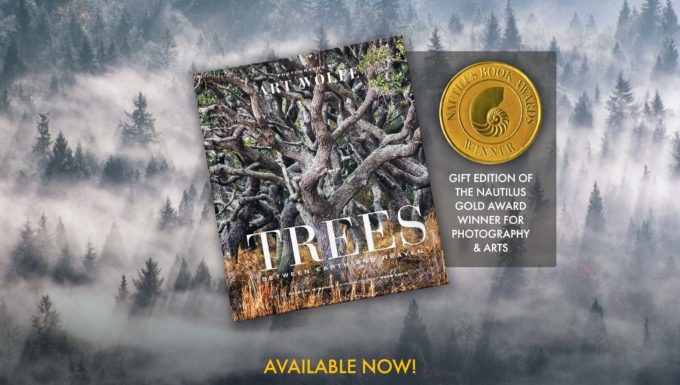
There is also a gorgeous gift edition of Trees: Between Earth & Heaven available, published as of today! As you saw on a recent episode of Tequila Time, the first edition of Trees is one of my Top 10 personal favorites, and this new gift edition retains the quality of that release in a more compact format.
Last but most definitely not least, if you haven’t already give Earth Is Our Witness a follow on both Facebook and Instagram and be sure to join us live on Thursday evenings following soon after Tequila Time. This week Parimal and myself will be talking with ocean photographer & the prestigious HIPA grand-prize winner Jasmine Carey on the secret lives of whales. I can’t wait! Thank you SO MUCH for everyone who joins our live broadcasts, and those who go back and watch them later. The positive feedback has been tremendous. See you then!
In case you missed it, Parimal Deshpande and myself had another fantastic couple of live streams last night – check them out:
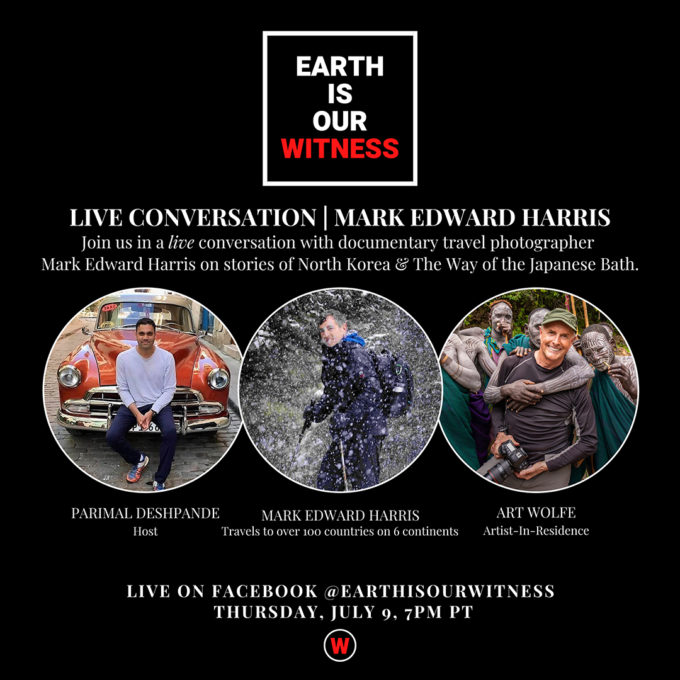
If you haven’t followed Earth is Our Witness yet on Facebook and Instagram, we’ve got a fantastic lineup of photographers from a wide range of backgrounds to talk to. Last evening we spoke with Mark Edward Harris, travel photographer with riveting stories from North Korea and Japan. He has a unique perspective from his time spent in these locations, don’t miss it!
Early in the evening I discussed my upcoming book project, Act of Faith with the Tequila Time audience. You can find that video on both Instagram and Facebook. Enjoy, and I’ll see you next week!
It’s been a busy month and perusing the series of images I have created in the last fifteen years, that seems to be the case for many a June! No surprise is a wonderful month for photography. From Alaskan Arctic to the Australian Outback, take a visual journey around the globe in June!
If you’ve subscribed to become a view of the first season of Pathways to Creativity, good news – Episode 5 is up today! Though much of my instruction is designed to train your artistic eye and hone your vision into that of an accomplished visual storyteller, this episode talks a little hardware. I discuss the lenses I use most often, which ones I might consider leaving at home on a long trip, the circumstances that influence my choices – and much more! It’s a longer episode, but packed with decades worth of professional experience.
I’m back in Seattle today where I’ll be starting my 14-day quarantine – safety first!
Due to connectivity issues and concerns we decided to record this episode of tequila time first and then share, to ensure I at least had some new content for you. I’m on the road travelling for the first time in a while – down in Mexico hoping to swim with some big crocs! Enjoy and I’ll see you next week!
It’s taken some time to look back over my career and select the best photos to illustrate the many lessons included in Pathways, and the feedback I’ve received so far from those who have subscribed has been incredibly gratifying.
If you’re on the fence about the series, here are a couple questions that have come up:
Q: Is there any kind of free trial for Pathways to Creativity, so I can get the gist of what it is all about before I buy?
A: Absolutely! Below and on the Pathways website you’ll find a free nearly 16-minute long preview that includes a few segments from the first 3 episodes.
Q: If I purchase a single episode, but decide I’d like to upgrade to the entire series, is that possible?
A: Of course! If you’ve purchased a single episode and decide you’d like to purchase the complete series, simply email us at info@artwolfe.com, or email vimeo through the help menu on the right side of my On Demand page and provide the name and email address of the original purchaser. We can provide you with a code to apply to the series for any previous episodes you have purchased, not to exceed the cost of the full series price.
Q: Season 1 implies a Season 2; is there a release date for the second season yet?
A: While there is no release date set in stone for S2 of Pathways, I already have the chapters laid out and ready to go, with a bit more finessing – rest assured S2 is all but a certainty in the very near future!
One of the last trips I was able to take before travel restrictions tightened up globally was an Antarctica expedition with my good friend Kevin Raber and 28 participants above the Magellan Explorer.
If you have some time, you should definitely check out Kevin’s story on photopxl.com. It’s complete with photos and beautiful video captured on the expedition with interviews and plenty of fun!