It’s been a busy summer, but there is no slowing down for me! I wanted to take this opportunity to share an updated list of my upcoming workshop opportunities with you. Some return trips to familiar locations are here, and I love to share the knowledge that I’ve accumulated over the years of visiting these great places. We also have exotic and new locales to visit as well. My team is hard at work doing our research, working with the best local support available.
Many of these new destinations come from the feedback we received from surveying those of you who subscribe to my newsletter. If you don’t receive those, get signed up here to be notified and kept up-to-date on what I have planned!
Particular locations and workshops will sell it well in advance. Don’t hesitate to get your name on the list! As always if you have any questions about an upcoming worshop, contact my staff – they would be happy to answer any questions you may have about a particular workshop.
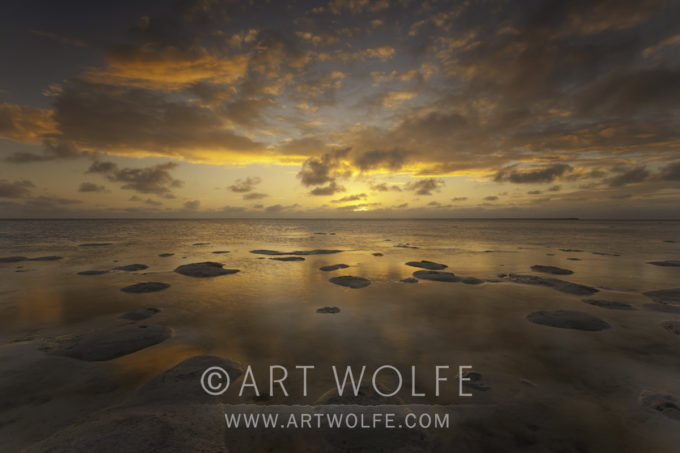
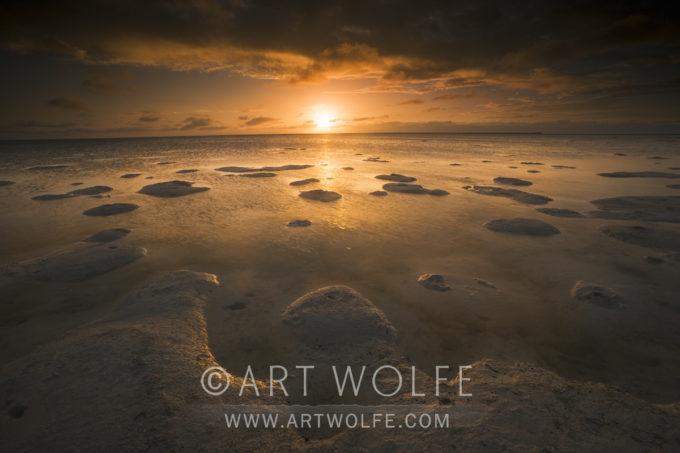
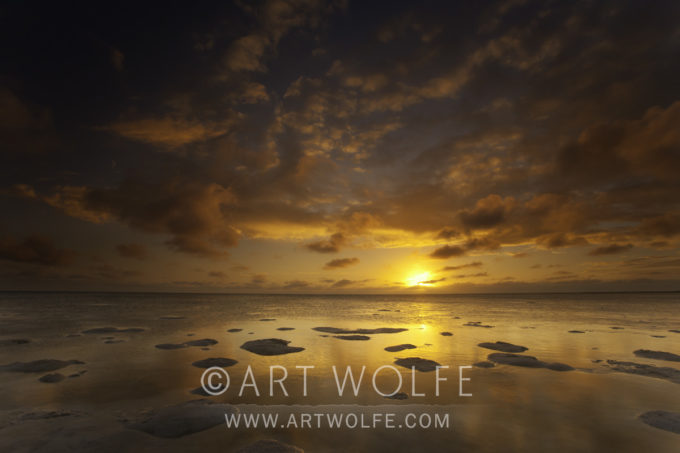
AW: One of the most common errors I see in portfolio reviews is the placement of the horizon in the middle of the photograph. In my opinion, this flattens out the image, creating less of a sense of depth. Placing the horizon high in the frame or low, on the other hand, can create a dynamic that allows the eyes to wander through the image far more easily.
In the first image, with the horizon in the middle, the eye just stops. In the second, the high placement of the horizon allows me to add more foreground, showing the expanse of beach and tide. There is a nice play between the forms of sand and the drama of the setting sun. In the third shot, with the horizon low in the frame, the focus is on the sun and how it reflects on the water, giving greater emphasis to the clouds overhead. High and low horizons create less predictable images and to my mind, offer a greater sense of depth and drama.
MH: Because the horizon line is so straight, it cuts the picture space into definite sections and has to be factored into what you want to emphasize. In each of these images, we get a slightly different sense. Placing the horizon in the middle might be desirable if stability and tranquility are what you want to convey. However, it relies on a very dramatic sunset to make a powerful statement.
With a horizon placed high in the frame, the foreground becomes more important, and requires either a texture or an interesting detail. However, if the drama of the sky is more powerful, then lowering the horizon is a better option.
This lesson and more from The New Art of Photographing Nature – Order yours today in my online store! As always, include a signature request and I’ll be sure to sign any books ordered through the store- however, my time between travels is limited so please note this can delay orders. If you want to get your prints and books signed in time for the holidays, now is the time!
Looking for a sense of scale can be another way of defining a composition and influencing how you place your subject. Scale is simply a way to give the viewer perspective on how big the scene is within the photograph.
Once you understand how to use scale, you can decide in each case whether or not to include it. Sometimes abstract photographs look their best when there is no sense of scale whatsoever, while big landscapes need it to reveal themselves to the fullest.
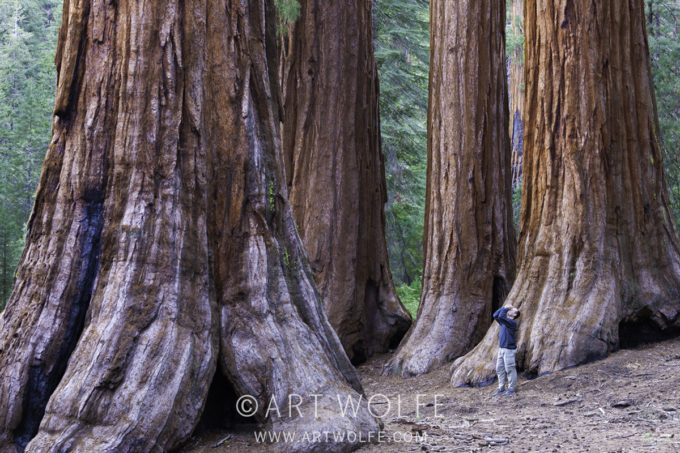
There are lots of things that can be used to convey scale within a photograph. Anything that is recognizable to viewers and will immediately convey an idea of its size will work. This is one reason why human figures are often used for a sense of scale in landscapes and street scenes. We know how big people are, and when we see a person in a scene, it gives us an idea of how big the scene is. People can also personalize a place and help a viewer better connect with it, such as in the example shown here of a visitor standing in Yosemite’s Mariposa Grove.
Park visitor, Yosemite National Park, California 70–200mm F4L IS USM, f/9 for 0.5 sec., ISO 400
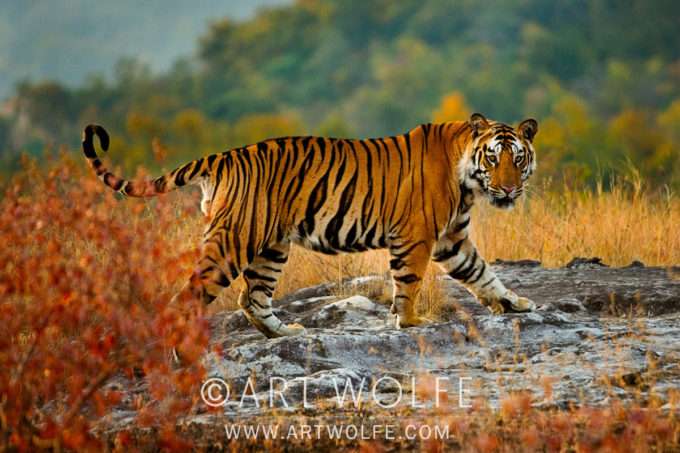
Other useful elements are items that people use, from vehicles to houses; these have a human scale that people understand. Animals also provide a sense of scale, as shown in the image below, as do certain types of plants, such as a big pine tree, another evergreen, or a large cottonwood tree—iconic types of trees that people recognize and have an idea of the size of.
The trick to using any of these things for scale is that they must look like a natural part of the composition. A big mistake that people make when trying to convey scale is to simply add something to the picture without thinking about how it integrates into the overall scene. That always looks odd and gives the feeling that the object was simply added as an afterthought—which it probably was!
Never compose your picture around the object that is there for scale purposes. Compose your picture based on the various ideas discussed in this and other chapters, then look for a way to incorporate your object so that it contrasts with the rest of the picture but does not start to look like the subject. When you’re using an object for scale, it needs to be a supporting character for the scene, never the star.
In general, things used for scale work best near the edges of a composition or along the bottom. Don’t slam them against the edge of the picture; that looks awkward; put a little bit of space between them and the edge. By placing these objects well away from the center of the picture, you are telling the viewer that there is an important relationship between this object and the rest of the scene.
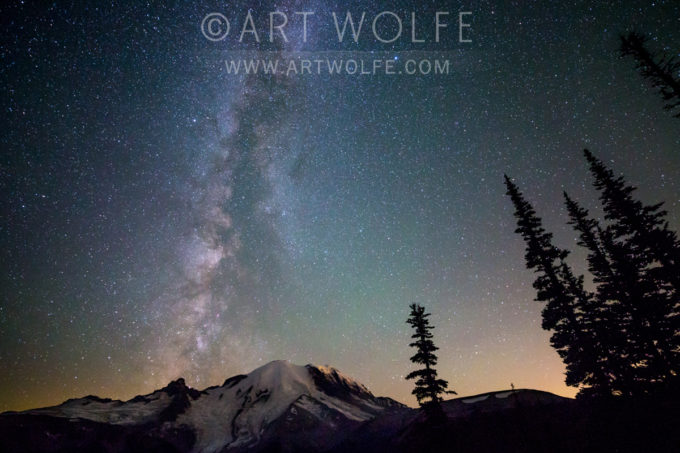
I’m heading to Mt. Rainier tomorrow to kick off our summer workshop, and prior to doing so Gavriel Jecan and I went to do some quick scouting. We will do this as often as possible before workshops, especially those happening up here near home. Usually there isn’t much photography involved – just as assessment of conditions and opportunities. This time however, we encountered a few adorable critters to share – Pika, and a long tailed weasel, most notably. Unfortunately the former is a common snack for the later! We also happened upon a golden-mantled ground-squirrel. Hopefully we can find these and more when we return with our group!
Just a few shots here for not, but stay tuned for a much more in depth collection of photos from Mt. Rainier next week! The fall workshop at Rainier has sold out, but if you’re interested in jumping on one of my other pacific northwest offerings, there is some space left in the Lake Quinault Photogrpahy Retreat in October; there’s no place like the Olympic forest in the fall and we will be adding some printing into the mix!
New photos from this year’s Katmai Bear-stravaganza! This trip posed some new challenges to navigate, but this is why we work with the best in the business as far as our on-location support is concerned – and I think in the end it also inspired some new and unique images from a location I have made a point to visit every summer for the past 5-6 years.
The most notable thought that comes to mind in reflecting on these consecutive years visiting Katmai National Park is the familiarity I now have when I see individual bears as well as their families. I can recognize particular bears from previous visits both by their physical traits as well as the varied techniques they employ to hunt for fish. Some bears might even have a unique lumber to their walk or a discernible demeanor in how they react towards other bears as well as humans.
I’m starting to recognize physical traits in the young bears and can associate them with their mothers and other family members. One thing is for certain – these bears are reproducing, and there is a healthy population to be found here. This (with caution) bodes well for both their success as a species and our opportunities to photograph them in this remote, beautiful location.
I’ll be leading two more workshops in July and August of next year, and my associate Gavriel Jecan will also be heading up his own tour next summer – sign up now, as the multiple trips indicate – they sell out fast!
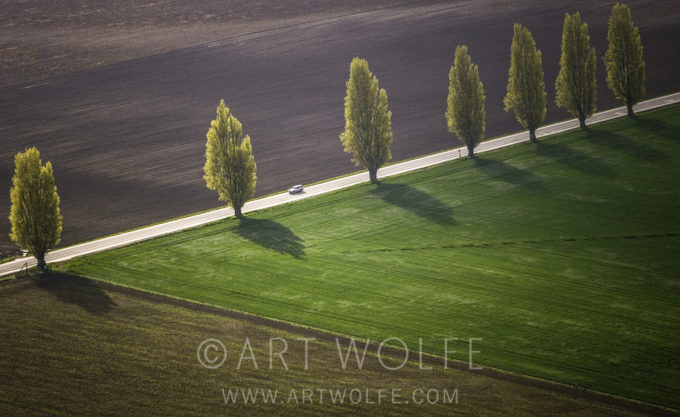
Often you’ll hear artists talking about diagonal lines within a composition. Diagonal lines can be very important to an image because of how they affect the mood and visual impression of a scene. However, diagonals are not just about line. You can have diagonal shapes and patterns as well.
Diagonals are always dynamic elements within a picture. They create a strong feeling of movement because the eye wants to move along a diagonal. There is something about the human mind that wants to follow a diagonal line. We will also follow a vertical line up and down, though we won’t really follow a horizontal line. Putting a diagonal line in with a vertical or horizontal line will create a very dramatic contrast. That can be a dynamic way of using a composition, but it can also be very distracting and disturbing for the viewer. You have to be careful about how you are using diagonal lines, shapes and patterns.
Diagonals also give a very strong dynamic feeling to an image because most diagonals in the real world are objects that have some sort of tension to them. A diagonal will typically be something that is moving or has the potential of movement. Diagonal objects in real life can look like they are ready to fall down so there is always a certain tension there. In addition, we know that if something that can move is placed on a diagonal surface, it is going to move down that surface because of gravity. That doesn’t mean that diagonals used in your photograph are looking like things are going to fall or roll down – it just means that there is a tension and movement there that people react to.
There is something very interesting that happens with diagonals when they are combined with horizontal and vertical lines. They can look like they are a support beam. Think about when you play the game, hangman. Most people draw the hanging post with a diagonal line between the vertical and horizontal lines to make it look like it has more support.
Okay, all of this can seem very esoteric and not very applicable to that landscape with a stream running through it. Yet as you start to look at that scene, you will start to see diagonals there that can help structure your composition and create a stronger design. Once again, becoming aware of these elements of design will help you use them within your composition.
Fall in Washington state is gorgeous, and what better way to celebrate the season than to be part of an intimate group of photographers exploring the lush Olympic forest on my Lake Quinault Photography Retreat? This region is the gift that keeps on giving; a location that I can never seem to get enough of as far as photographic opportunities go. I always leave feeling like there is so much more to explore, and this exclusive small group setting is my opportunity to share what I see with you in hopes I can pass on four decades of knowledge to you.
Along with this very personal look at a region I’m particularly familiar with, I’ll be providing lectures and critiques. We will also have equipment on hand Epson during our time at the Lake Quinault Lodge for demonstration – take home prints of your best photos from our time together!
Sign up now, this Photo Retreat will sell-out as Autumn approaches!